Download, Install and Configure Cisco AnyConnect VPN client for SISSA Remote VPN Service
This tutorial use a CentOS 7 linux distro, for other distros like Ubuntu, Fedora, Debian, and others the steps are much the same
In oder to set up a working Remote VPN connection to SISSA, follow the above steps:
1. Download the Cisco AnyConnect VPN Client
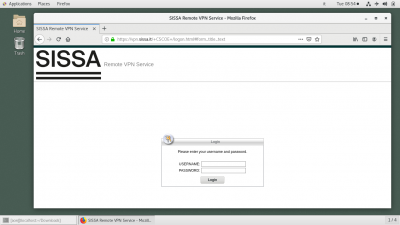
- using your preferred browser (Firefox, Chrome, and Safari are supported) connect to the site https://vpn.sissa.it/sso
- insert your SISSA credentials (username/password)
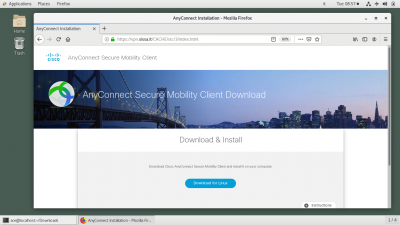
- download the Cisco AnyConnect VPN Client package
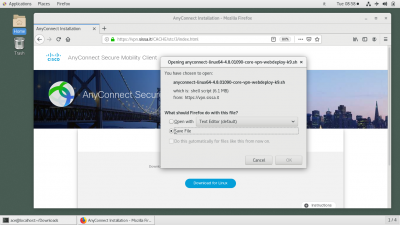
- choose
Save Fileto save the package in a local directory
2. Install the Cisco AnyConnect VPN Client
- 1. Locate the downloaded Cisco AnyConnect VPN Client package (usually in the Download directory under your home)
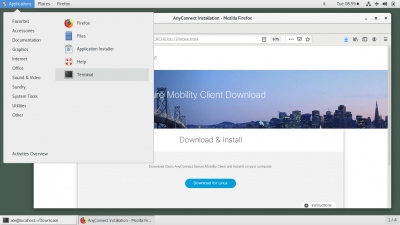
- 2. Open a terminal window in order to insert the shell commands needed to install the package
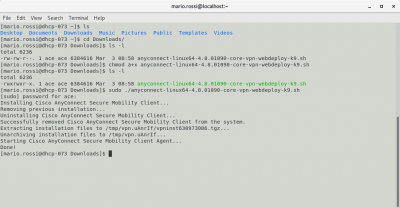
- 3. from the shell prompt type
lsand look for a “Download” directory - 4. move to the Download directory with the command
cd Download - 5. look for the downloaded package with a list command
ls -l. You should see a file named like anyconnect-linux64-x.x.x-core-vpn-webdeploy-k9.sh - 6. change file's permission to executable with the command
chmod a+x anyconnect-linux64-x.x.x-core-vpn-webdeploy-k9.sh - 7. now the file should be executable, check again with an
ls -l, you should now see the file's permission as -rwxrwxr-x and the file should be displayed in green - 8. install the package with root privileges using the sudo command:
sudo ./anyconnect-linux64-x.x.x-core-vpn-webdeploy-k9.sh - 9. Confirm the command typing your user's password, installation should start…
- 10. You should see a series of lines like
Extracting installation files to /tmp/vpn.xxxxand the last 2 lines should beStarting Cisco AnyConnect Secure Mobility Client Agent…andDone!
3. Launch the Cisco AnyConnect VPN Client and connect to SISSA VPN Server
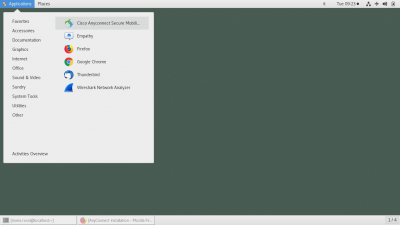
- After successfull client installation you should have a Cisco AnyConnect VPN Client launch icon under the Applications/Internet menu
The exact menu where you can find the VPN Client lauch icon depends from the Linux distro and from the desktop manager of your choice. In any case, should be easy to locate the icon under the Internet Application menus or using the search tool and looking for just
Cisco tag
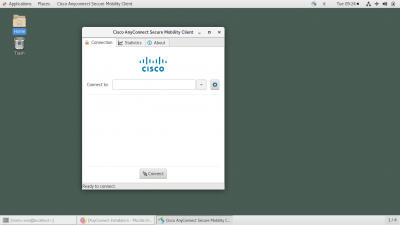
- start the VPN client
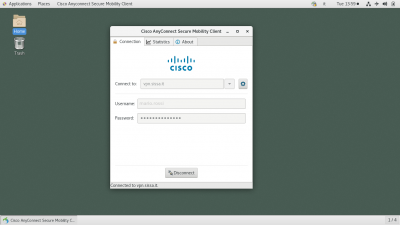
- and type vpn.sissa.it/sso in the Connect to box. Please note that previously the connection string was only vpn.sissa.it. Change it accordingly! Also, consider that the authentication procedure will require for you to use the Microsoft Authenticator app on your mobile device: it's easier if you load the app before beginning the VPN connection attempt.
- Press
Connectbutton and wait for a popup window to appear. The window will allow you to perform a login using your SISSA credentials, beginning with your email address:
- After writing down your SISSA email, press next to write your password:
- Since this is a Multi Factor Authentication process, now the popup window should show you a number that you have to enter in the Microsoft Authenticator app:
- If you confirmed your authentication attempt on Microsoft Authenticator, you should now be prompted to decide whether you want the system to remember your identity and not ask you again for a full login procedure every single time you want to connect. It's recommended to choose
Yesif the computer you are using is your own and no one else uses it.
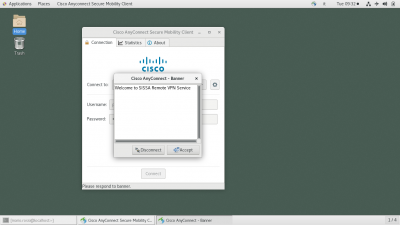
- The procedure is completed now, and you should get the welcome banner:
- Type
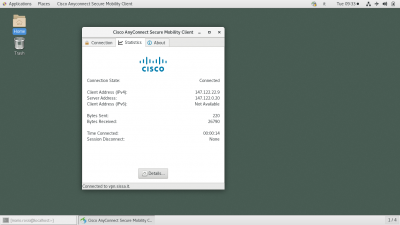
Acceptto set up the tunnel and start using the VPN. You should now see in the “Statistics” tab your assigned Client VPN IP address, together with other connection infos.
If the VPN tunnel is up and running, you must see a new IP address assigned to your laptop that looks like 147.122.x.x. This is your “internal” SISSA address.
If the connection fails, on some Linux distributions it may be necessary to edit the file /opt/cisco/secureclient/AnyConnectLocalPolicy.xml and change the option ExcludeFirefoxNSSCertStore from false to true. So you may need the line
<ExcludeFirefoxNSSCertStore>true</ExcludeFirefoxNSSCertStore>
