Download, Install and Configure Cisco AnyConnect VPN client for SISSA Remote VPN Service
You must have administrator priviledges on Windows to install Cisco AnyConnect Mobility Client
In oder to set up a working Remote VPN connection to SISSA, follow below steps:
1. Download the Cisco AnyConnect VPN Client
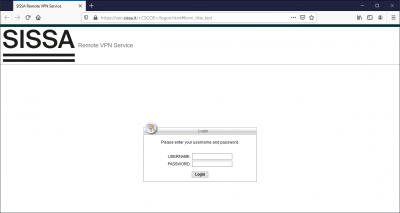
- using your preferred browser (Firefox, Chrome, and Safari are supported) connect to the site https://vpn.sissa.it
- insert your SISSA credentials (username/password)
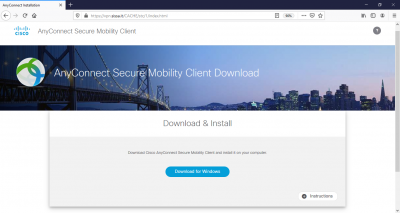
- download the Cisco AnyConnect VPN Client package
2. Install the Cisco AnyConnect VPN Client
- from the previous download page, just click the
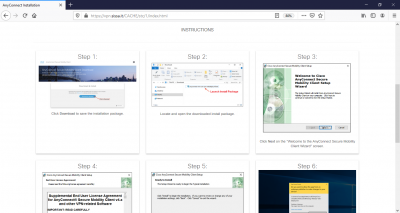
Instructionsbutton and scroll down the screen, to have a detailed step by step tutorial:
- Locate and open the downloaded install package
- Click
Nexton the “Welcome to the Anyconnect Secure Mobility Client Wizard” screen - Agree to software license agreement and click
Next - Click
Installto begin installation - You must have administrator priviledges to install Cisco AnyConnect Mobility Client: when prompted, choose
Yesto proceed with installation - Once successfully installed the Cisco AnyConnect Mobility Client you can begin using it
- Launch the Cisco AnyConnect Mobility Client from the Windows Start Menu
3. Launch the Cisco AnyConnect VPN Client and connect to SISSA VPN Server
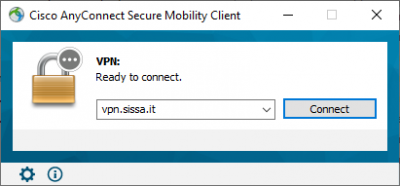
- Launch the Cisco AnyConnect Mobility Client
- type vpn.sissa.it in the “Ready to connect.” box, and type
Connect
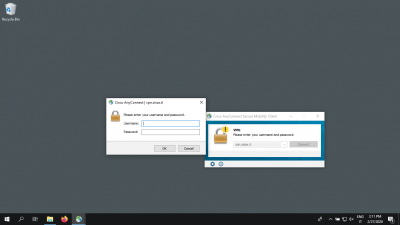
- Insert your Username and Password, then type
OK
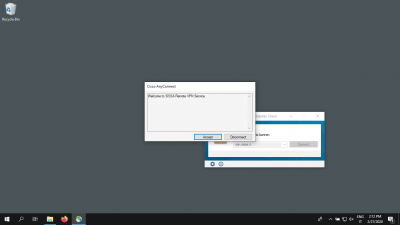
- If you typed valid credential, you should now see the Welcome banner
- Click
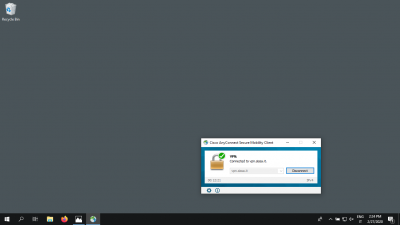
Acceptto start the VPN tunnel. You should now see a box in the lower left of the screen “Connected vpn.sissa.it”
- The Remote VPN Tunnel from your device to the SISSA VPN Server is now active, you can access any internal SISSA resource
