GNOME Evolution
To configure the GNOME Evolution client (version 3.27.91 or later) to access the Microsoft 365 environment, follow the steps below. These instructions use Evolution 3.40 and the evolution-ews plugin version 3.40, result may be vary on different versions.
Install
Install the Evolution packages if not already installed. For Ubuntu, Debian, and their variants, open a terminal and run the following shell commands:
sudo apt install evolution
sudo apt install evolution-ews
For CentOS/RedHat or Fedora, open a terminal and run the following shell commands:
sudo dnf install evolution
sudo dnf install evolution-ews
Configuration
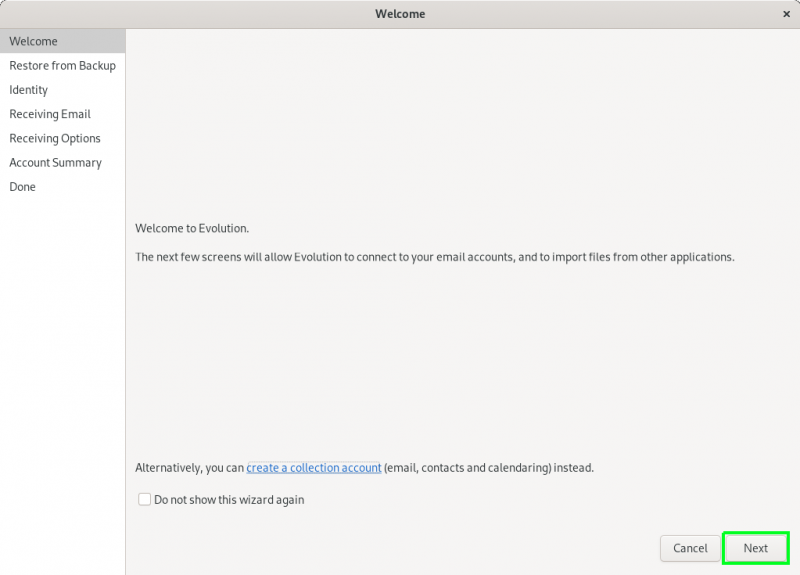
Launch the Evolution application. If this is a new installation, follow the prompts below to configure your account. Otherwise, select the menu items File → New → Mail Account, click Next, then follow the prompts.
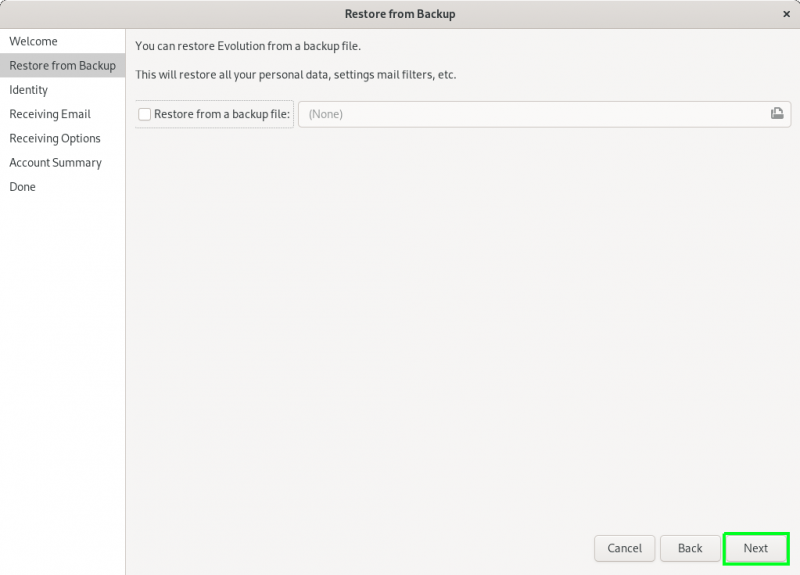
On the Restore from Backup page click Next.
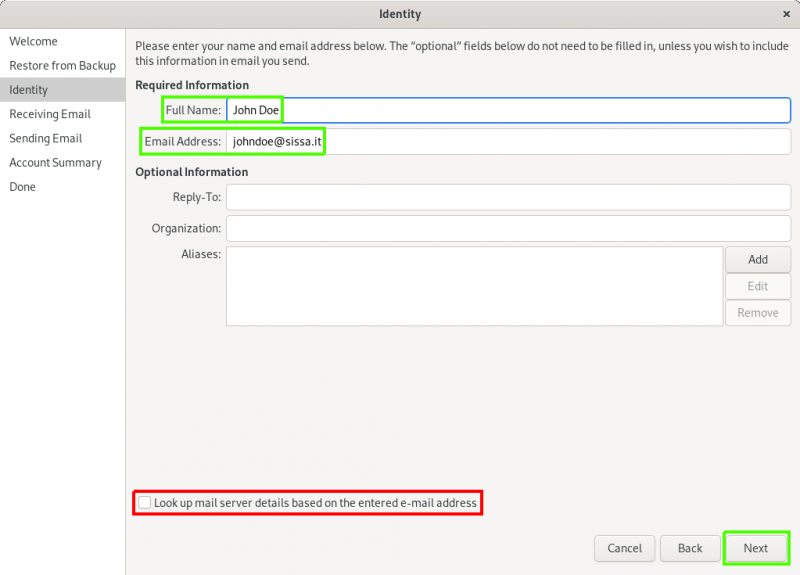
On the Identity page:
- Type desired name in the
Full Namefield - In the Email Address field enter
username@sissa.it. (The name.surname@sissa.it format will NOT work) - Ensure the
Look up mail serverbox is NOT selected - Click Next
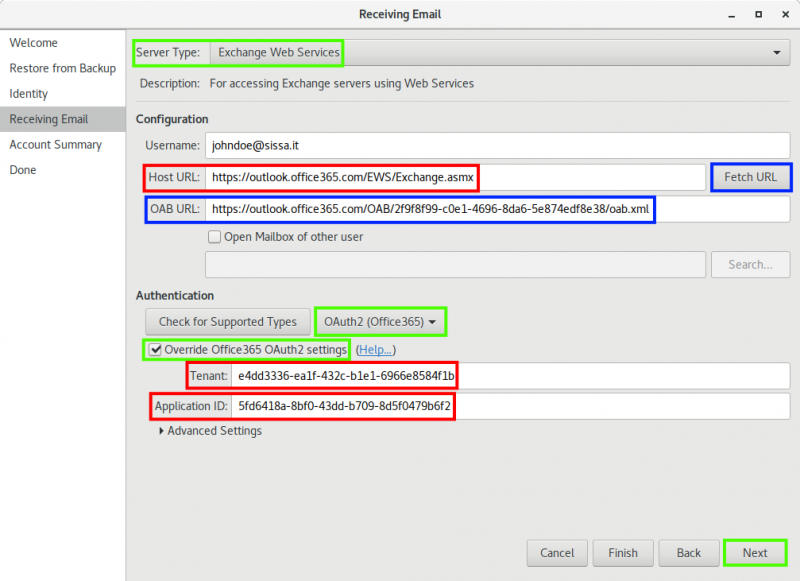
On the Receiving Email page:
- select
Exchange Web Servicesfrom theServer Typedropdown.
- In the
Host URLfield copy-and-paste the following URL:https://outlook.office365.com/EWS/Exchange.asmx - select
OAuth2 (Office365)from theAuthenticationdropdown. - tick
Override Office365 OAuth2 settingscheckbox - In the
Tenantfield copy-and-paste the following id:e4dd3336-ea1f-432c-b1e1-6966e8584f1b - In the
Application IDfield copy-and-paste the following id:5fd6418a-8bf0-43dd-b709-8d5f0479b6f2 - (Optional )Click the
Fetch URLbutton, providing your SISSA password when prompted. This will result in theOAB URLfield being populated, which is the address from which the client can download a copy of the Offline Address Book. - Click Next
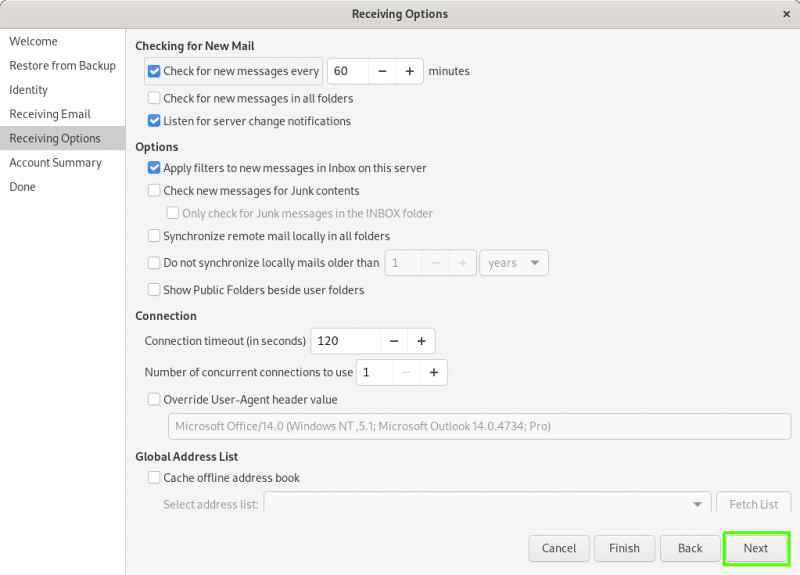
On the Receiving Options page, change any desired options, then click Next.
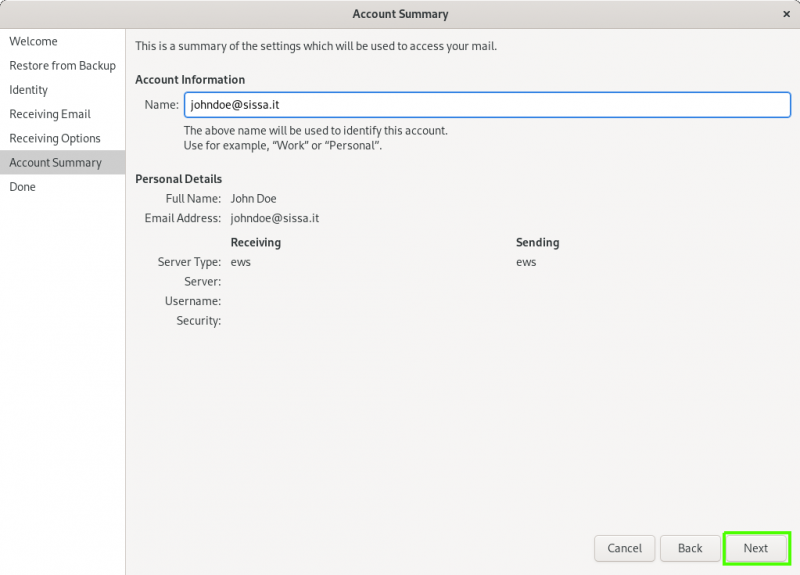
On the Account Summary page, click Next.
On the final page, click Apply.
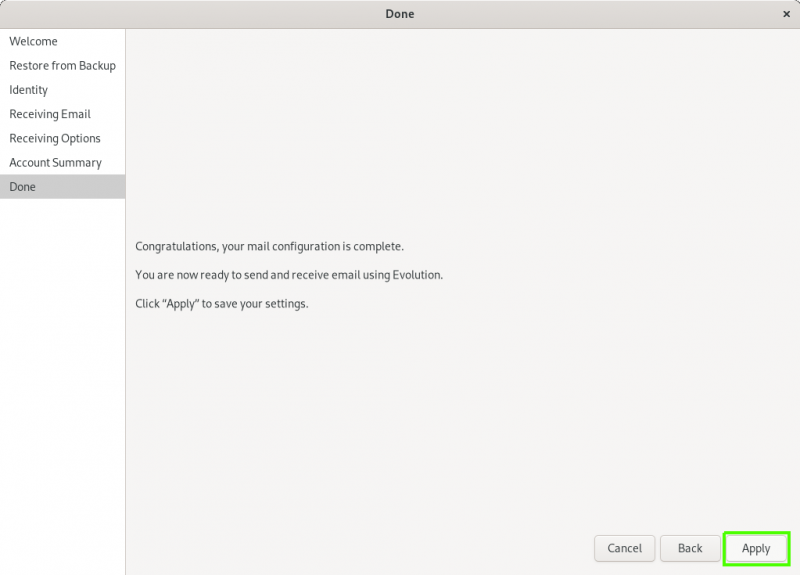
If prompted, enter your SISSA password once more.
Setup is complete. Email and calendar data will take some time to sync.